


Take a look at our Happy Panda Digital Downloads!
Download the Digital Stamps & SVG Cutting files below...
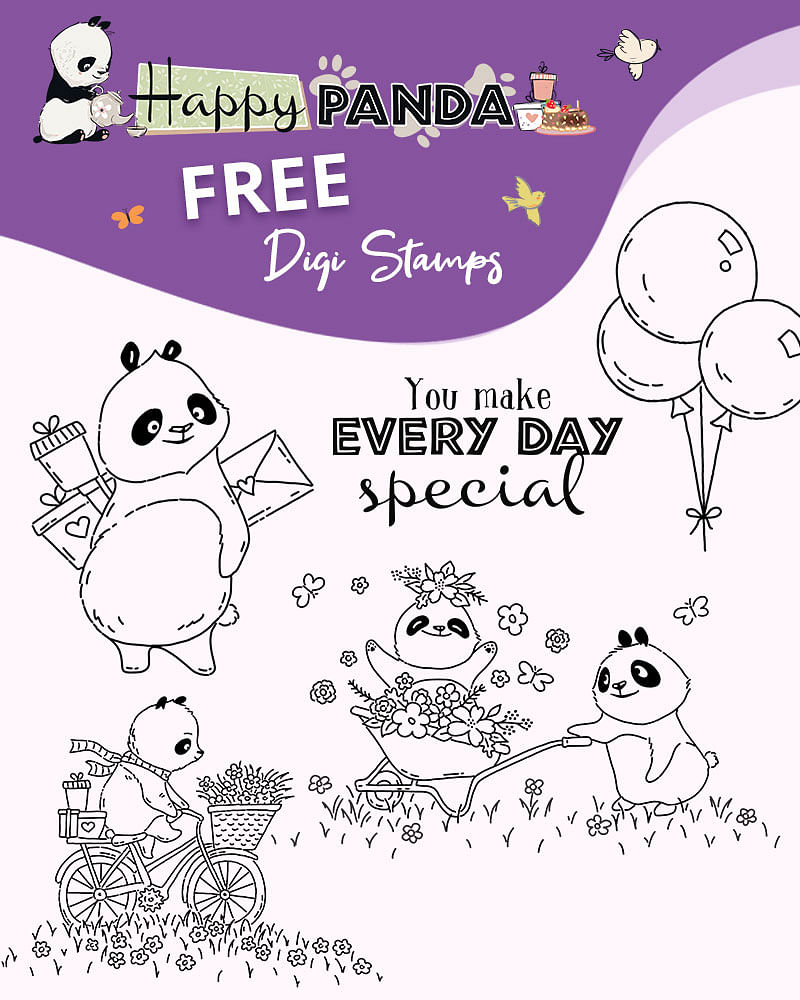
Download 5 fantastic Stamps
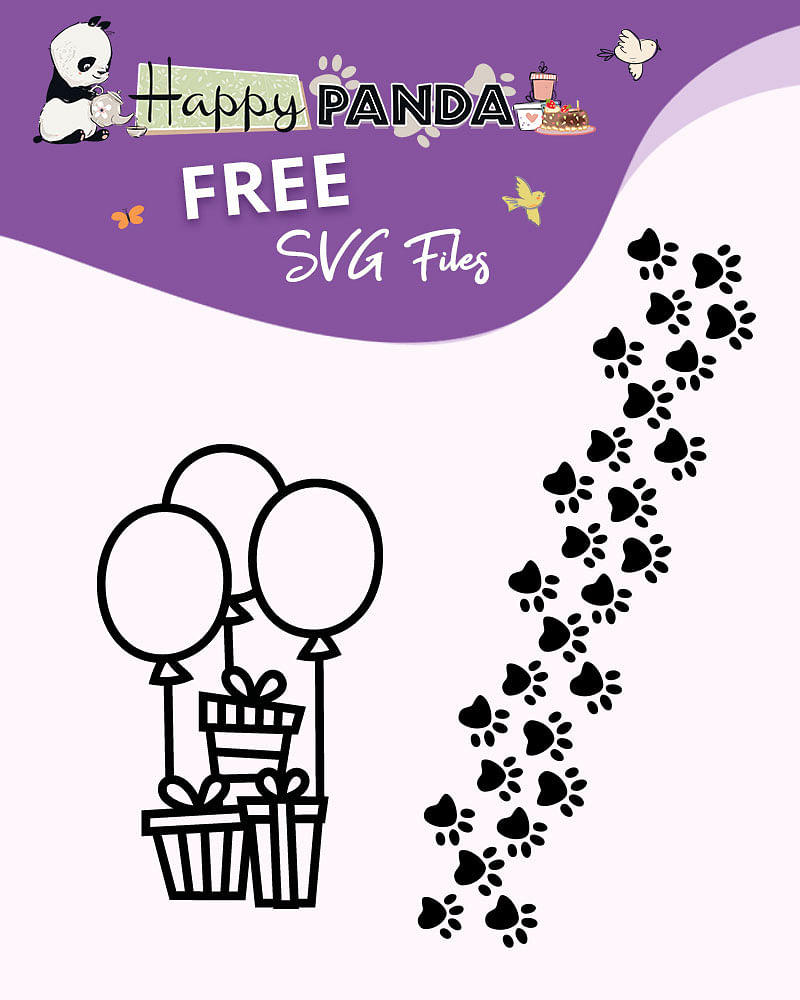
Download 2 SVG Cutting Files
Create your own Happy Panda cards using these handy instructions!
• Download the files above and then upload them to your cutting machine software. We use a Brother Scan'N'Cut so we use Brother CanvasWorkspace.
• Once they are in your machine's workspace software you can edit the designs, make them larger or smaller and even reflect them to suit your card making needs.
• Transfer the designs to your cutting machine. In the Brother CanvasWorkspace, go to File > Export/Transfer FCM File and choose one of the two options:
- Via the Internet if you are wireless connected to your machine
- Export and transfer the FCM file to a USB drive
• Cut your designs using a range of cardstock. We recommend 210gsm-300gsm cardstock.
- 4" x 6" Cardblank
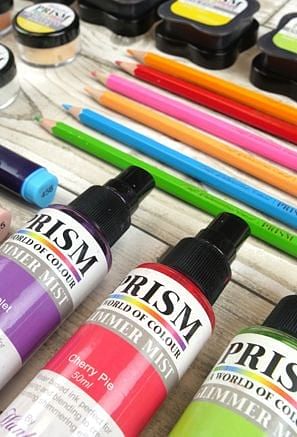
- Prism Craft Markers
- 4" x 6" Black Card
- Foam Pads
- Tape
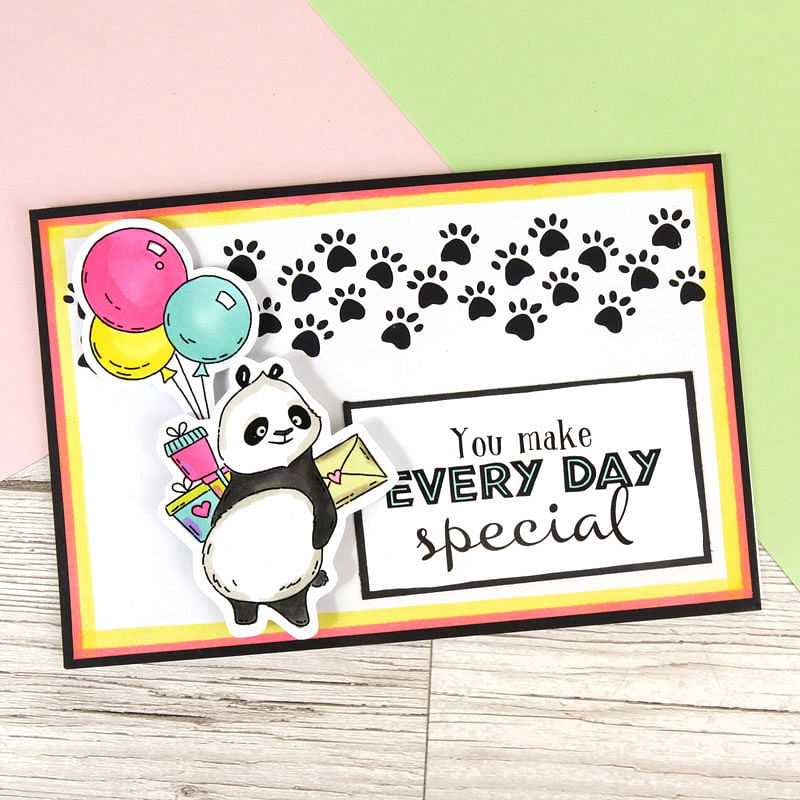
- Open the Paw Prints SVG in your machine's workspace software. Resize the paw prints to fit onto a 3¾”x 5¾” piece of cardstock. If desired, delete some paw prints to get the right size of prints.
- Cut the paw prints into your trimmed white cardstock.
- Colour the edges of it with the following Prism Craft Markers: 405 Lemon and 510 Candyfloss.
- Add it to a 4” x 6” piece of black cardstock then to a same-sized card blank.
- Print out the Panda and balloons and colour the Panda with Prism Craft Markers: N1 Linen, WG3 Pewter, and WG7 Ash; colour the presents with 510 Candyfloss, 402 Vanilla, 405 Lemon, 455 Glacier and 414 Pistachio.
- Print out the greeting, trim around it then shade the edges with 600 Midnight.
- Make up the card by sticking the greeting in place with tape and then adding the balloons and Panda with foam pads.
- White, Black and Pink Cardstock
- 7" x 5" Card blank
- 4" x 6" Black Card
- Foam pads
- 17mm pink ribbon
- 3mm black ribbon
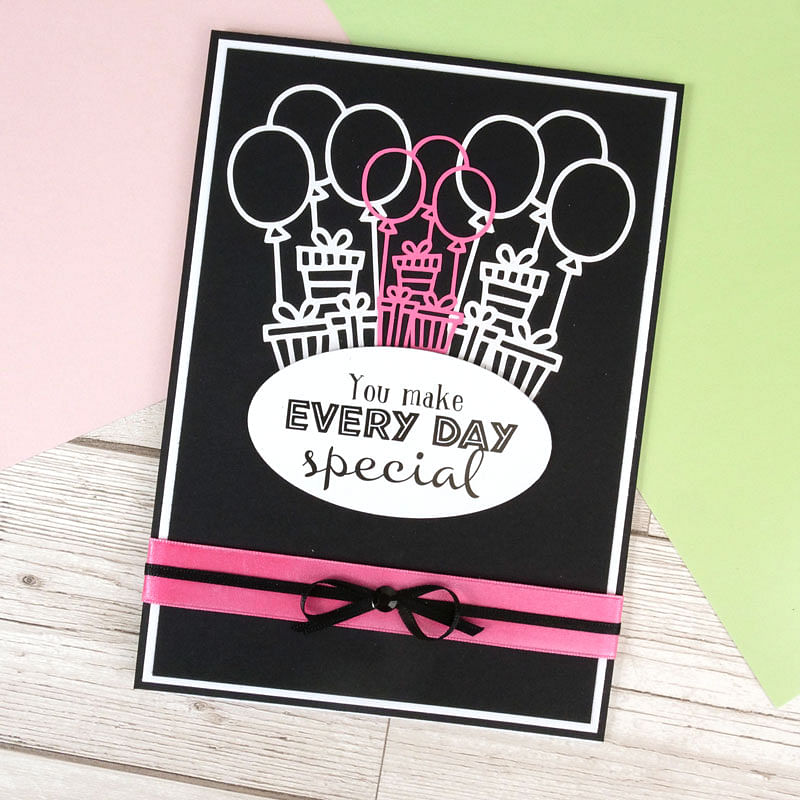
- Open the Balloons SVG in your machine's workspace software. Copy the design so you have 3 images. Make 2 of the images approx. 8cm high. For the 3rd image, reflect the design and resize to approx. 5.5cm high.
- Cut the 3 images out of white and pink cardstock.
- Print out the greeting and cut an oval shape around it.
- Layer black ,white, and black cardstock to 7” x 5” and wrap 17mm pink ribbon and 3mm black ribbon near the bottom of it before adding the layers to a 7” x 5” card blank.
- Stick the balloon cut-outs near the top of the black layer then add the oval greeting over the bottom edge of them with foam pads.
Top Tip: Keeping to just 3 shades of cardstock and co-ordinating ribbon gives this card an extra ‘punch’
- Prism Craft Markers
- White Cardstock
- 4" x 8" Card Blank
- Foam Pads
- Black Cardstock
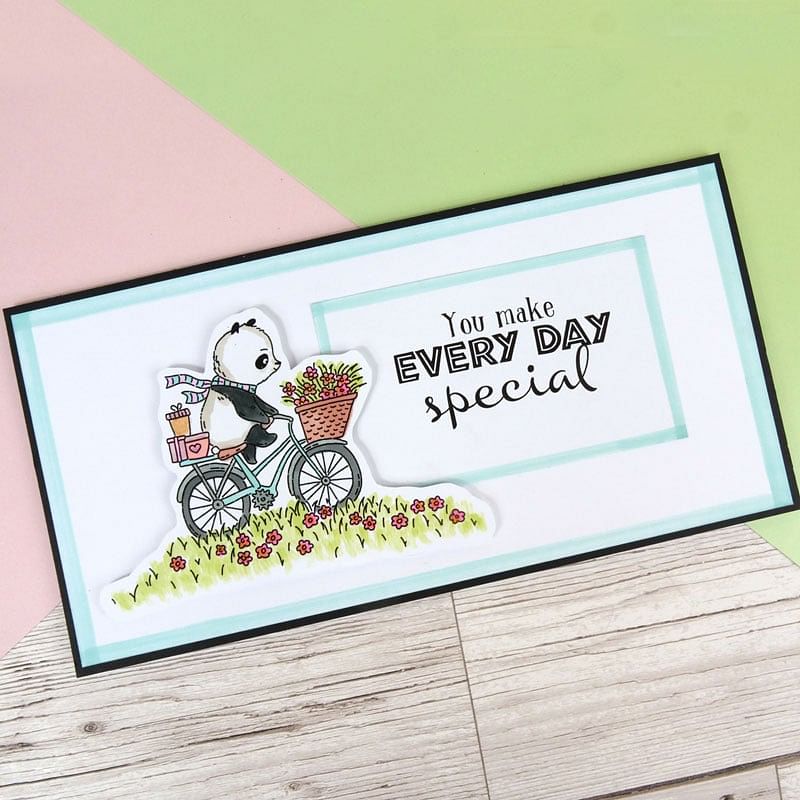
- Print out the Bicycle Panda and the greeting.
- Colour the Panda using Prism Craft Markers CG4 Smoke, CG8 Slate, 600 Midnight and N1 Linen. Shade the scarf with 461 Ice and 484 Lilac and the bicycle with 461 Ice, CG4 Smoke and CG8 Slate.
- Use shades 414 Pistachio, 510 Candyfloss, and 406 Dandelion for the grass and flower with 537 Beige for the basket. Colour the presents with 484 Lilac, 537 Beige, and 515 Champagne.
- Cut the greeting piece to 2¼” x 3¾” and edge it with 461 Ice.
- Use the same shade to colour the edge of a 3¾” x 7¾” piece of white cardstock.
- Layer it onto a 4” x 8” piece of black cardstock then to a same-sized card blank.
- Stick the greeting nearer to the right-hand edge of the top layer using tape. Add the Bicycle Panda image over the left-hand edge of it with foam pads.
Top Tip: Don’t worry about fussy cutting the bicycle: just cut around the outer edges of the image!