


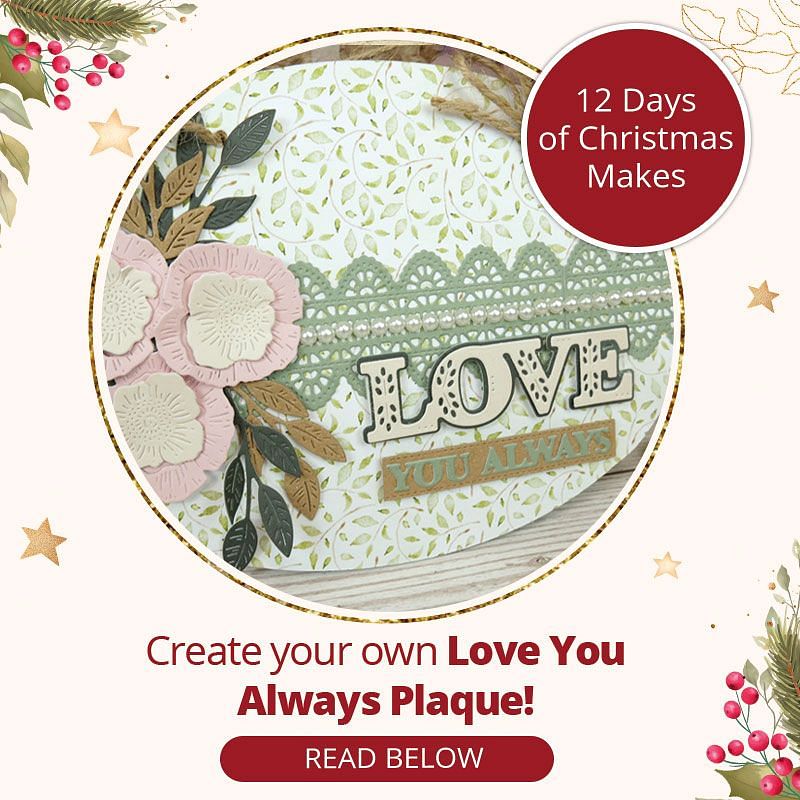
It's the final day of our 12 Days of Christmas Makes!
Each day we have shared A super fun make with you and step-by-step instructions on how you can make your own.
Find out how you can make a beautiful Love You Always Plaque.
- Matt-tastic Adorable Scorable A4 Cardstock x 10 sheets - Willow Tree
- Matt-tastic Adorable Scorable A4 Cardstock x 10 sheets - Petal Pink
- Matt-tastic Adorable Scorable A4 Cardstock x 10 sheets - Magnolia
- Matt-tastic Adorable Scorable A4 Cardstock x 10 sheets - Forest Fern
- Adorable Scorable Pattern Pack - Flourishing Leaves
- Moonstone Dies - Love Always Sentiments
- Moonstone Dies - Lace Trim Selection
- Moonstone Dies - A Jar Full of Wildflowers
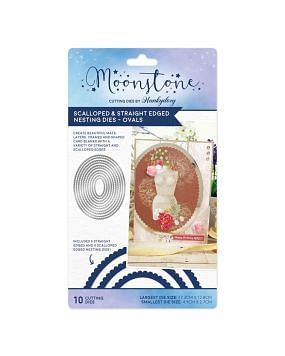
- Moonstone Nesting Dies - Scalloped & Straight Edged Nesting Dies - Ovals
- Twine
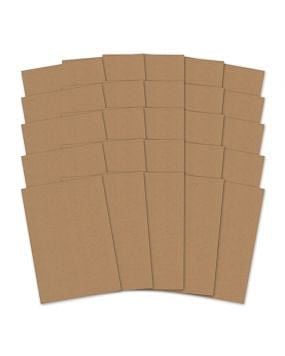
- Superior Stamping Card - A4 Kraft Card
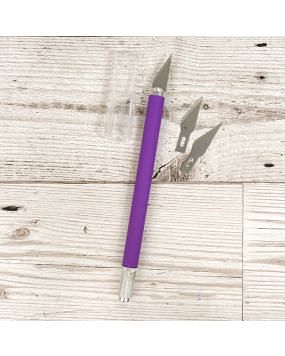
- Premier Craft Tools - Precision Craft Knife + 2 Blades
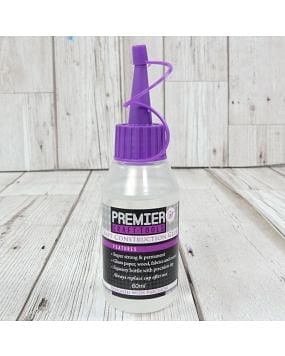
- Premier Craft Tools - Craft Construction Glue
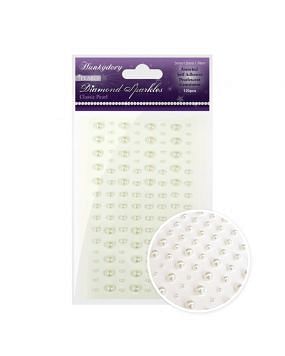
- Diamond Sparkles Gemstones - Precious Pearls - Classic Pearl
- Premier Craft Tools - Screw Hole Punch
- Stick leaf matt-tastic card to MDF shape using construction glue. Leave to dry
- While MDF is drying cut out: - 3 flowers from pink matt-tastic card - 3 flowers from cream matt-tastic card - 3 leaves from kraft card - 3 leaves from dark green matt-tastic card - 3 borders from light green matt-tastic card - ‘LOVE’ sentiment from dark green and cream card - ‘’YOU ALWAYS’ from light green matt-tastic card - Sentiment backing from kraft card
- Once the MDF is dry cut around the edge using a kraft knife
- Stick all elements onto plaque starting with the border. Cut the cream flowers down to fit in the middle of the pink ones. Stick the leaves behind the flowers
- Stick the ‘LOVE’ sentiment on using foam pads
- Add pearl gems to the middle of the border
- Once you are happy with the decoration on your plaque using the screw hole punch to make a hole to thread the twine through. Secure on the back. Make a bow from twine to stick on the front of the plaque.


12 December 2020 92 view(s)